consolidatedbillingandcross-accountaccessonAWS
An introduction to consolidated billing and cross-account access on AWS. Let's sort this out.
Consolidated Billing allows you to separate your master Amazon Web Services (AWS) account into separate clients, teams and areas. For example, you may want to separate your development, testing and production environments into multiple AWS accounts. Also, if you manage multiple client accounts within AWS, having Consolidated Billing for each is useful when it comes time to invoice your clients. Having this separation of accounts gives you a very clear breakdown of costs, which can also be used to help when streamlining the AWS services you use.
Cross-Account Access within AWS allows you and your team to use one Identity and Access Management (IAM) account to access multiple other AWS accounts. This can allow for a greater level of security, and less mucking around creating multiple IAM accounts and roles. This in turn limits the potential for errors that can quickly become security issues or downtime for your applications. The ability to switch from one AWS account to another in the same browser window can save engineers a lot of time and frustration, especially if they need to constantly log out of one account to log into another.
Below are some steps to setting up and using both Consolidated Billing and Cross-Account Access on AWS.
setting up Consolidated Billing
- First of all, you will need to decide on the email address you will use for the consolidated account. If you are like us here at Dynamo6 and use G Suite for Business, our solution was to create a distribution group, and then to take advantage of Google’s function of using a + symbol to create email “aliases”. For example, the distribution group name could be AWS@yourdomain.com, and then each consolidated account would then be registered using the format AWS+AccountName@yourdomain.com. By then adding the right users to the Google distribution group, emails will be sent to all the required team members, and it will save you having to create multiple mailboxes for each AWS account.
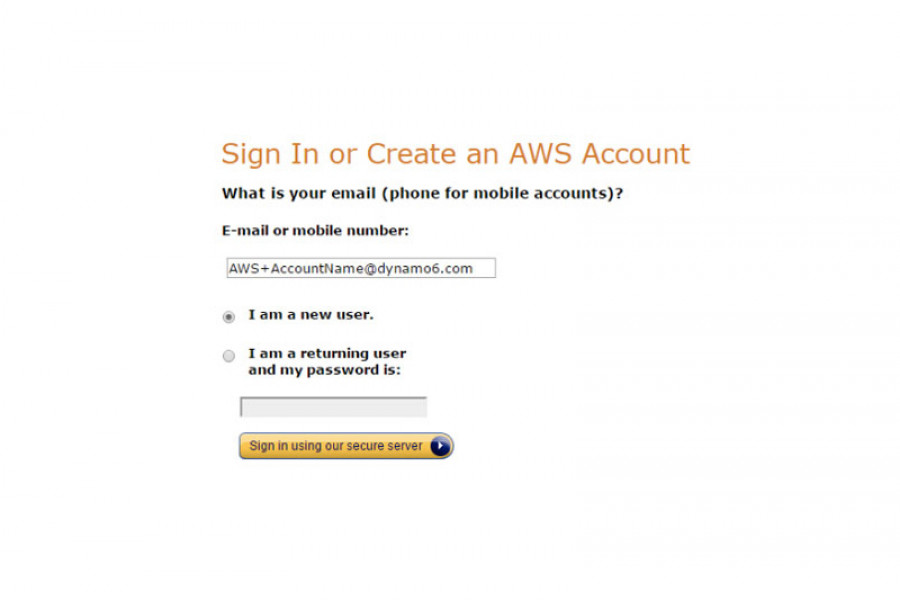
- Register the new AWS account that you will eventually connect to from your master AWS account:

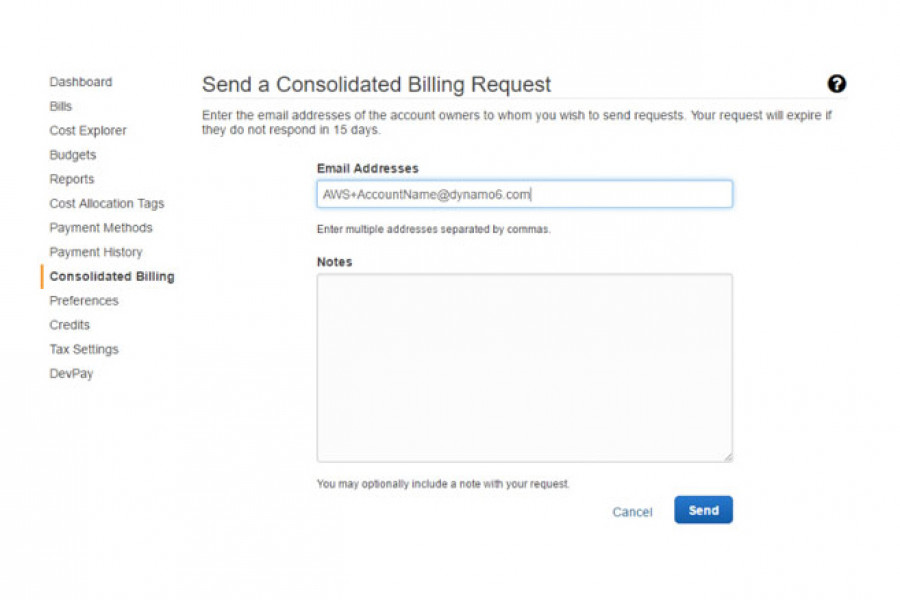
- Sign in to your master AWS account, and browse to ‘Billing and Cost Management’. Select ‘Consolidated Billing’ from the menu on the left. Next, click ‘Send a Request’ on the right.
- Send the request to the new AWS account you created in step 1:

- You should have now received an email from Amazon titled ‘Request to add account to Consolidated Bill’. Click the link in the email to accept. You will need to log into your new account, so you may want to open the link into an incognito window to save logging out of your master account.
- Once accepted, the Consolidated Billing page for both accounts will show that the two accounts are now linked.
setting up cross-account roles
- Log into AWS with your new account. Open IAM, select ‘Roles’, click ‘Create Role’
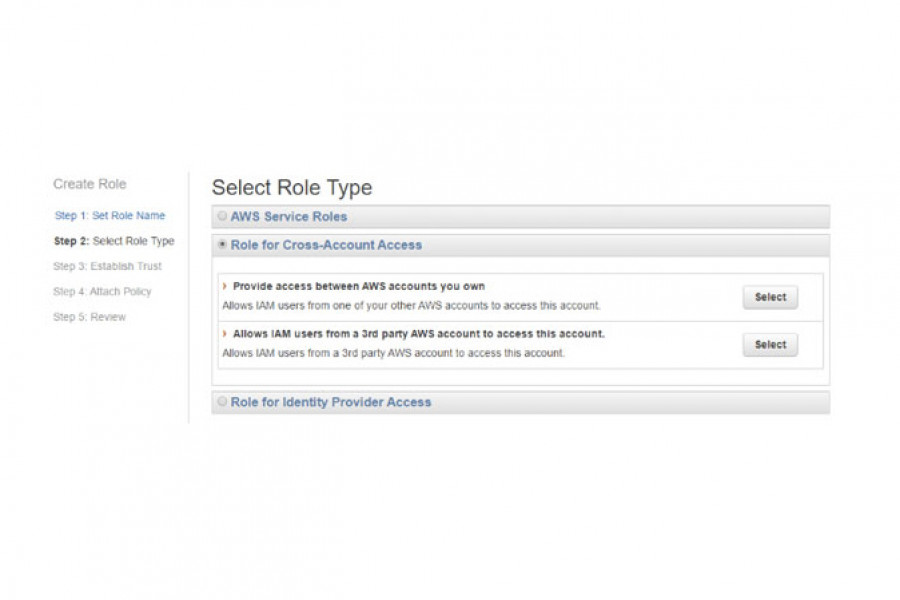
- Type a name for the role such as ‘Cross-Account Administrators’. Select ‘Role for Cross-Account Access’ then select ‘Provide access between AWS accounts you own’

- Type the 12-digit account number for your master AWS account and tick ‘require MFA’
- Attach the required policies for this role, such as ‘AdministratorAccess’
- Make a copy of the link as you need to provide this to your team members that will have access to role.
- Create additional roles with permissions as required for your other teams such as Engineers, Developers, Support.
create security groups
- Log into your master AWS account, open IAM, select ‘Groups’, and then click ‘Create New Group’. This group will allow your users to assume the role created in your new account.
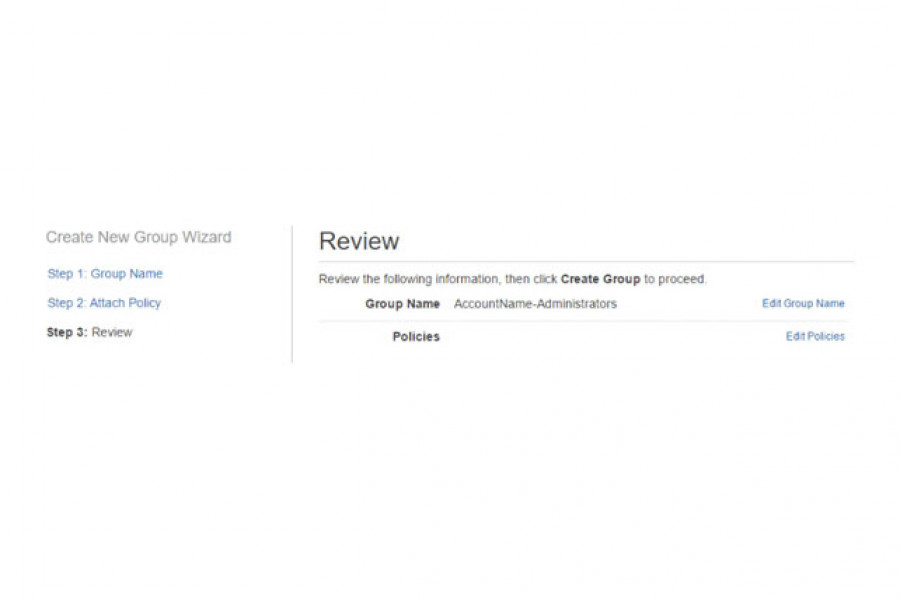
- Give your new group a name such as ‘AssumeRole-AccountName-Administrators’
- Do not add any policies at this stage. Click ‘Create Group’

- Edit your new group, select ‘Permissions’, expand ‘Inline Policies’, and click the link to create a new policy. Select ‘Custom policy’, then use the following policy remembering to replace the underlined text with your new account number and role name
{
      "Version": "2012-10-17",
      "Statement": {
            "Effect": "Allow",
            "Action": "sts:AssumeRole",
            "Resource": "arn:aws:iam::111111111111:role/CrossAccount-Admins"
      }
}- Add members to the new group
- Test the link copied earlier to switch roles to your new account. Once you have switched roles once, you will be able to use the drop-down under your name to switch between different roles. This will be lost if you clear your browser history, so it is best to save the link.
- Create additional security groups with the AssumeRole action for your other teams.
want to chat AWS with us?
The team at Dynamo6 are certified cloud specialists with years of experience in AWS architecture, migration, deployment and management. Let us know if you want to talk cloud services or AWS with us.